Showing posts with label crochet. Show all posts

Thursday, 4 October 2012

Crocheted Cloths

Yesterday, Melbourne put on a spectacular day.  The sun shone done on us all day and the kids enjoyed playing outside - painting, board games, skipping and a bit of basketball.  Me, I enjoyed watching them and soaked up the suns rays and got a bit crafty.  I went through my wool/cotton stash and discovered some yarn from a previous project that would be perfect for some much needed dish cloths.  On a day like yesterday, I enjoy making little things that don't take up a lot of my time because they tend to remain unfinished and that frustrates me no end.  The dishcloths above fitted all my criteria for some sun filled crafting - they're quick and easy to make, they're a great way to use yarn scraps and they're functional and needed.

What you need
  • Cotton yarn (I used 4 ply because it was what I had but you can use any ply)
  • Use a crochet hook to match the yarn ply (I used a 2mm hook)
  • Scissors
  • Darning needle to weave in ends
How to
  1. Chain 34 stitches with your crochet hook
  2. Insert the hook into third chain and do one half double crochet stitch into each chain.
  3. Complete row
  4. Chain 2 stitches at the end of each row and continue working in half double crochet until the cloth reaches 20cm (about 24 rows)
  5. Cut yarn and toe off
  6. Weave in loose ends using a darning needle
Here is a youtube clip on how to do a half double crochet stitch

Tuesday, 17 July 2012

Chevron Blanket/Throw


Gracie's chevron blanket is complete.  
She loves it just as much as I do.  
I love the colours that we selected and it makes her room feel even more happy and 'girly'.

Below is the video that I followed.  
My pattern is slightly different, though (see written pattern below the video link).
Instead of doing 5 double crochet stitches (dc) between each valley and hill, 
I did 10dc because I wanted deeper hills and slopes.

The video explains dc2tog and dc3tog well if this is a new stitch for you.


Materials:
Pattern

Row 1: Ch 246
Row 2: Starting in 3rd chain dc2tog, dc in next 10, 3dc in next, dc in next 10, dc3tog, dc in next 10, repeat until last two stitches, dc2tog
Row 3:  Ch 2 and turn, dc2tog, dc in next 10, 3dc in next, dc in next 10 and continue pattern until last 2 stitches, dc2tog
Row4: and onwards - continue with the pattern until a desired blanket size is reached.

When finished fasten off and weave in all ends.

Wednesday, 25 April 2012

Granny Squares (Part Two)

I hope that you've all had lots of happy hooking after my post on Granny Squares.  
Now, as promised some inspiration as to what you can make with your lovelies.

Source: bit.ly via Krystyna on Pinterest

Pinterest is full of ideas, but I have put together a few of my favourite little projects and ones that I hope to make in the coming weeks/months:
  • Dottie Angel is a great Australian blog and I love her pillow.  It only requires a few granny circle squares and I love the garland that she created in this post, too.  Adorable.
  • I LOVE this bag on Craftster.  How cute would that be when you hit the shop, or the park, or anywhere, really?
  • Of course there is the Flowers in the Snow blanket that I made,  I do love it a lot and so do the kids.
  • This purse on A Handmade Year is so cute.  I need one and am going to make one.
  • I think Grace needs this poncho from Prudent Baby.  I know that she is seven but I think she can get away with it. 
  • Granny Square Love has tonnes of ideas but I have my eye on the tablecloth
  • Some bunting bliss.  How gorgeous would that be strung between trees at a special celebration?
If you are unsure how to seam your squares, the Lion Brand Blog has two great tutorial here and here.

I have to say, for those who feel stressed and need to unwind at the moment, you need to embrace the meditative qualities of granny squares. The joyous feeling of using up scraps of wool and creating something is soothing, rhythmic and relaxing.  You will feel better for it, I promise.  Well I always do so I hope you do, too. 

Thursday, 15 March 2012

On My Needles

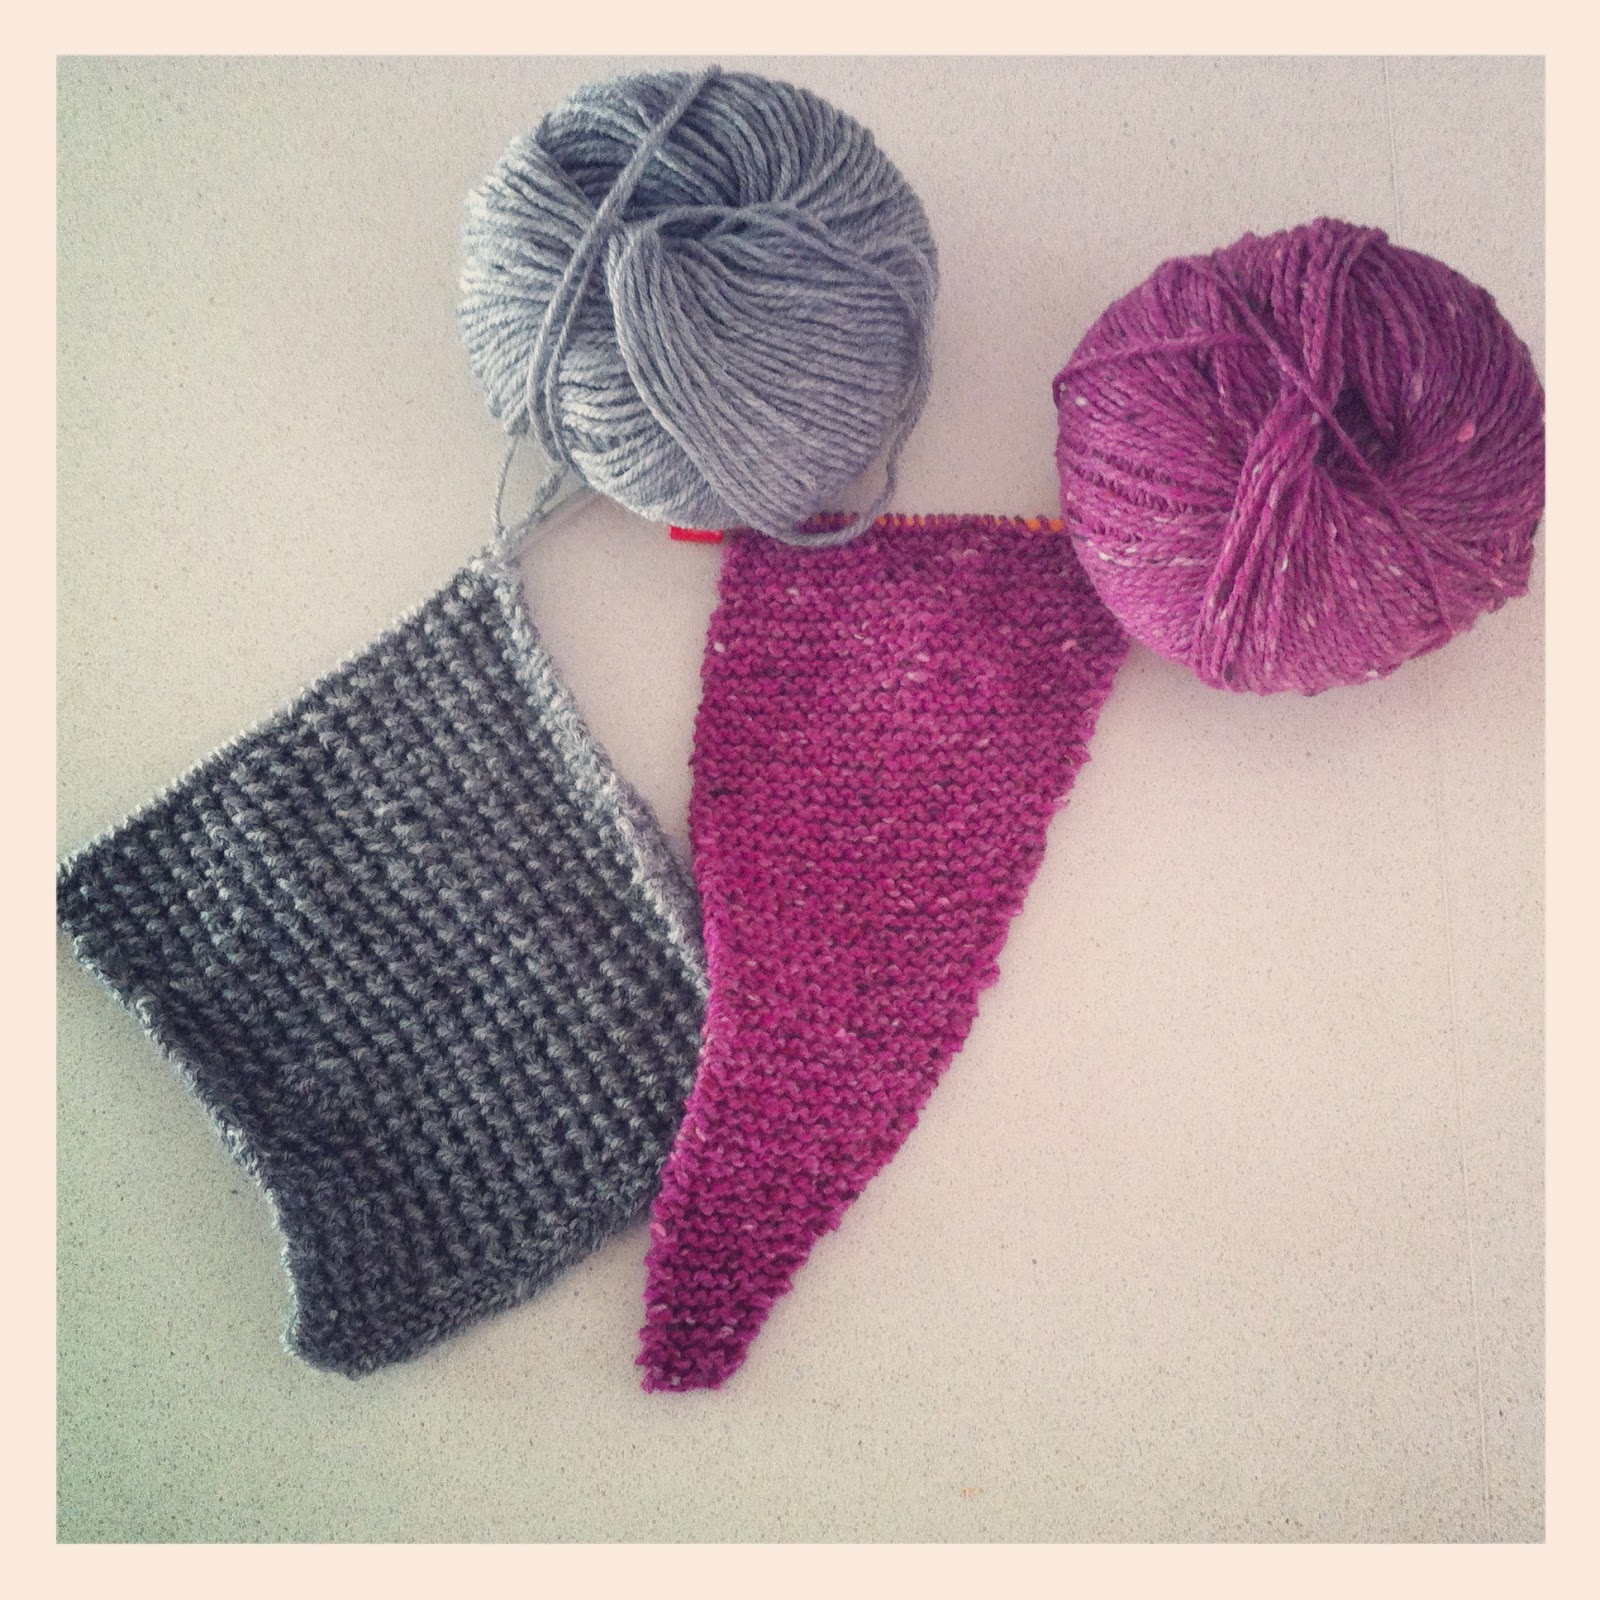
There has been a lot of crocheting and knitting go on around here lately.  I think it's because of the gorgeous autumn air, combined with a whole lot of quiet nights - Patrick is at camp, Martin is busy working and Gracie and I at home, just the two of us.  Holding something in my hands, knowing that I am creating a special piece for the ones I love brings me a whole lot of satisfaction.  I just love it.

I couldn't help myself.  I ended up casting on and starting the scarf for Martin and the Baktus for me.  It was just sitting there waiting for me to begin.  I couldn't resist.  Now I need to stop and wait for our flight, or even better, finish off and find a new project for the plane.
Today, I also bring you progress on my crochet project Flowers in the Snow.  I know that this was suppose to be for our guest bed, but in all honesty the whole family love it on our couch.  We all agree that the pop of colour brings happiness into our little family room and if we had it on the guest bed we wouldn't enjoy it as much.  So it's a unanimous decision to leave it where it is for now and maybe, sometime down the track, I will crochet a few more squares and then we'll take it to the guest room.

Isn't it an inviting snuggle rug?

Tuesday, 13 March 2012

How To Read A Crochet Pattern

The first time you look at a crochet pattern it can be incredibly daunting.  With all the letter and symbols, it can look like a secret code or another language.  But once you learn how to read them and understand what they mean, you'll find that crochet patterns are actually easy to follow.  Yes, really, they are.


My Mama and my Mum taught me to crochet in the most basic way when I was about 7 or 8 years old. I learnt by copying them, not by reading a pattern.  I created many chains and a scarf, or two and some clothes for my dolls.  It was not until a few years ago that I got my first look at a written crochet patterns.  Boy, was I overwhelmed.  I kept going back to the pattern and then heading to my computer to decipher what I had to do.  I spent more time decoding than I did on actual crocheting.  It was incredibly frustrating.


All crochet patterns are written using Crochet Abbreviations.  
Some of the basic ones are below.

A:
alt = alternate
approx = approximately
M:
MC = main color
M = meters
MM = millimeters
B:
BEG = begin(ning)
BET = between
BL/bk lp = back loop
BLO = back loop only
BO = bobble
BP = back post
BPDC = back post double crochet
BPSC = back post single crochet
BPTR = back post triple crochet
O:


OZ = ounce
C:
CA = color A
CB = color B
CC = contrasting color
CH = chain
CH- = refers to chain previously made/worked
CH_SP = chain space
CL =cluster
CM = centimeter
CONT = continue
P:
PAT = pattern
PC = popcorn
P = picot
PM = place marker
PREV = previous
D: 
DC = double crochet
DC2TOG = double crochet 2 stitches together
DEC = decrease
DTR/DTRC = double triple/treble crochet
R:
REM = remain
REP = repeat
REV SC/reverse sc = reverse single crochet
RND = round
RS = right side
E:
EA = each

S:
SC = single crochet
sc2tog = single crochet 2 stitches together
SK = skip
SL ST = slip stitch
SP = space
ST = stitch
F:
FLO = front loop only
FP = front post
FPDC = front post double crochet
FPSC = front post single crochet(s)
FPTR/FPTRC = front post triple/treble crochet
FL - front loop
FLO = front loop only
T:
TBL=through back loop
TCH = turning chain
TOG = together
TC/TRC = triple crochet
G:
G = gram
GRP = groups
GS = Galaxy Stitch
W:
WS = wrong side
H:
HDC = half double crochet
HK = hook
X:
X-st = cross-stitch
I:
INC = increase
Y:
YD = yard
YO = yarn over
YOH = yarn over hook
L:
LP's = loop
LP ST = loop stitch
At first the abbreviations and codes can be intimidating, but after a few patterns you'll have it cracked.  Just keep at it and don't give up.  Think of your end product.  Soon you'll be reading them like a bilingual pro!

Now to learn the basic stitches.  If you don't have anyone to show you, the next best resource is youtube.  There are so many great tutorials on there.  You can search by basic stitches or by taking yourself through a series of crochet lessons/sessions.  When I was first learning, I'd work out what stitch I needed and then youtube the stitch, watch how it was done and then do that stitch over and over agin until I perfected it, and then I had a go using it on my selected pattern.  Yes, it is time consuming but worth it.


One other consideration is that patterns work in either a row or in a round.  The pattern will tell you this.  Obviously with a round you go in a circle and with rows you move back and forth. 


Websites can also be an amazing tool not just for patterns but for learning stitches and piecing a garment together.

Some of my favourites:

  • http://www.crochetspot.com/
  • http://www.crochetaustralia.com.au/
  • http://crochet-mania.blogspot.com.au/
There are some apps available too.  I have the Crochet Decoder on my phone for when I'm out and about and need some help with a difficult pattern.  It's incredibly simple to use and has solved some of my problems with the click of my phone screen.

Check out some of the beautiful crochet patterns on my Pinterest board .  See, it's worth it when you can create such pieces of beauty.  Give it a go and if you have other suggestions or ideas that have worked for you, please let me know because I still need tips on perfecting my crocheting.


r


I hope this posts makes your crochet learning less frustrating than mine was.
One question I have been asked - Do you prefer to crochet or knit? 
 I must say that I enjoy both immensely but I think crocheting will always be my favourite.

Monday, 20 February 2012

A Little Basket

Over the weekend I worked on this little basket.  It is only small, but enough to hold some wool/cotton, a crochet hook and needles.  When I am working on a project, I like to have what I need next to me and what better way, than with something pretty like this.

The basket was incredibly easy and quick to make.  I used heavy cotton and made lots and lots and lots of single crochet stitches.  I started with the base and increased the stitches as I went around until the base was a desired size.  Then I made a row of single crochet (sc) stitches into the front loop of the previous row and went round and round until it was at a desired height.  I added the white border for a contrast. 
The 'Flowers in The Snow' blanket continues to grow.  I have stitched together many squares but I need to add a lot more so it can fit on our guest bed.  I'd like to complete it before we go to the US (in one months time...yikes) because we have two different families coming to stay while we're away.   I better get my hook into action.  Now that the weather is a bit cooler I am enjoying working with the wool a lot more.

Gracie thinks the blanket belongs to her.  She tells me that it's perfect the size it is now - perfect for her that is!  See her relaxing over the weekend with the blanket on her lap.  

Have a great week. x