Showing posts with label tutorial. Show all posts

Tuesday, 2 October 2012

Headband ~A Tutorial

Headbands are popular at our house.  I wear one when I run or when I want my hair off my face.  Gracie wears one to school, to visit a friend or while she is playing at home.  They are a cute way to spruce up the everyday hair down look.  I have made many over the years - for Gracie's friends as party favours, for school fetes and fairs and as birthday gifts for special friends.  You do not need a lot of sewing experience to make these so I have put together a tutorial so you can make some for your family and friends.  
NOTE - The dimensions below are for a 5-8 year old child.  You can work with the dimensions depending on the size of the child/adults head
                                                                                                         
What you need...

  • One rectangular piece of fabric 40cmX12cm
  • One rectangular piece of fabric 20cmX6cm
  • 12cm piece of wide elastic
  • safety pins
  • thread (matching or contrasting)
How to...

 Step One
Take the larger piece of fabric and lengthways, fold the fabric twice
Press in the side seams
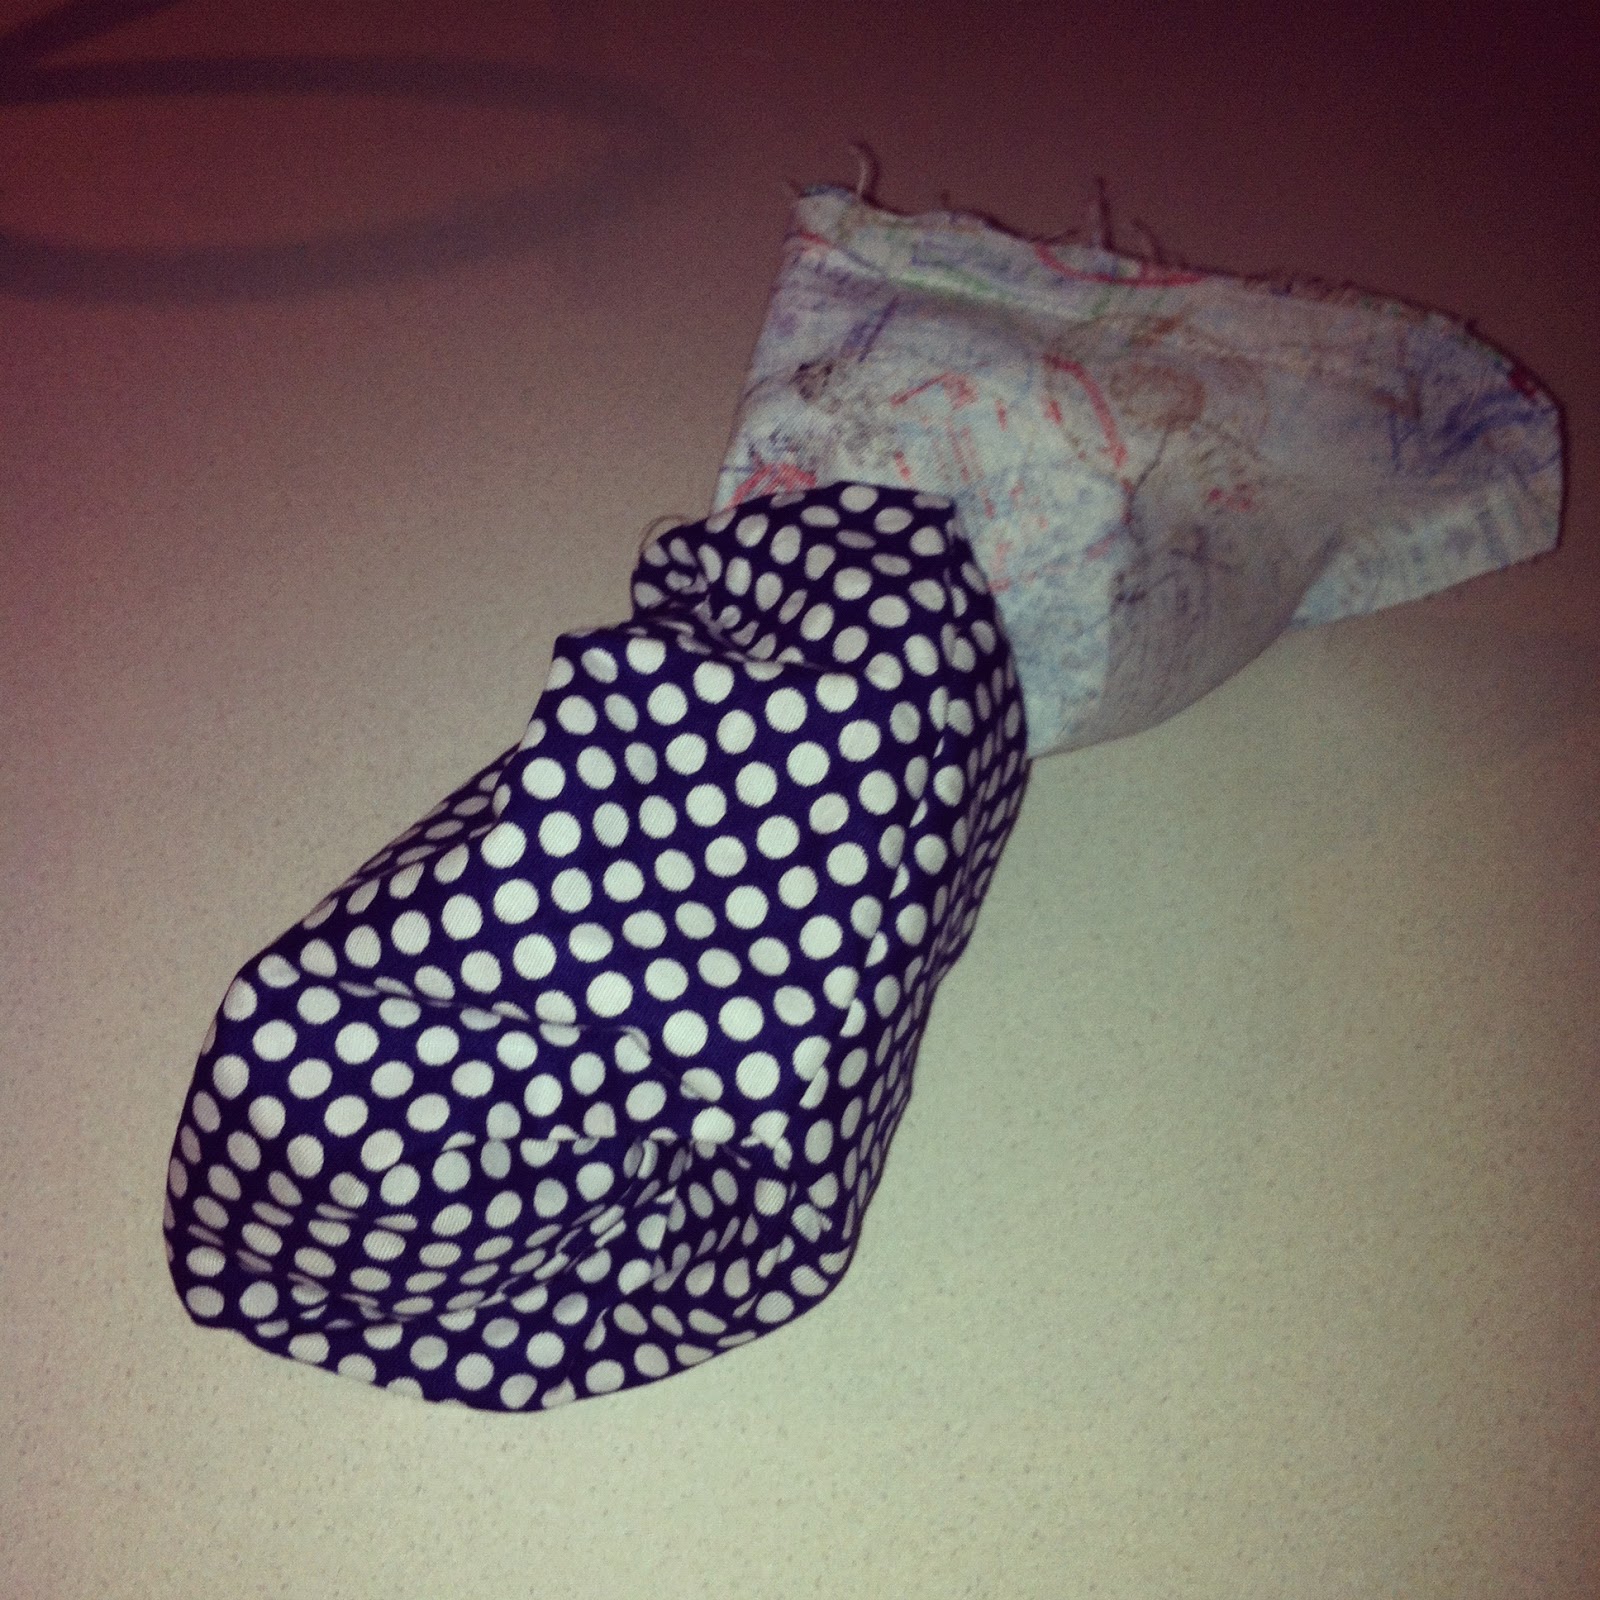
Fold the smaller piece of fabric in half with right sides together and press

Step Two
Using straight stitch, sew the seams about 5mm from the edge


Step Three
Turn the small piece right side out
Using the safety pin, slide the elastic into the casing 
Secure the elastic with pins and sew into place
Step Four
Fold in the ends of the larger piece as shown below.
The width should be a little more than the width of the elastic casting piece
Stay stitch the end to secure the edge


Step Five
On one side of the larger piece tuck the elastic casing into the fold that was made at the edge (The larger piece should be right side up)
Secure with pins 
 Step Six
Sew into place

Step Seven
Trim end to reduce bulk.  Be careful not to cut stitching
Do this to the other edge of the larger piece


Step Eight
Check sizing

Enjoy making this for your little girl or make one larger for yourself.


Tuesday, 5 June 2012

Sewing Thank You Cards


I am a believer in sending a handwritten note to say thank you.  Sometimes it takes me longer than it should to complete them but I *usually* get my act together and head to the Post Office with envelopes in hand.  Now that we have lived in so many countries and different cities we get quite a lot of mail - cards, gifts and letters.  The kids, Martin and I are always so grateful for friends and families kindness and generosity.  I feel bad when I don't get my act together to send a note back to show my gratitude that I decided to get my act together - I created a stack of cards ready to go.


~What you need~
  • A stack of blank cards (I got mine at Riot Art and Craft)
  • Fabric scraps (I had plenty around here)
  • Lace or ribbon (yet again, I had some scraps around the house)
  • Permanent fabric pen or a Sharpie
Step 1:  Cut your fabric into little flags.  The width that I used was 4.5cm and the length 7cm.


Step 2:  Using your fabric marker write "Thanks" or a special message to reflect your gratitude on the bottom of the flag.


Step 3:  Using the longest stitch on your machine (I used 5) attach the lace (or ribbon) and  fabric flag.
 N.B I did not go back and forth at the end of each card because I was worried that the extra stitches would tear the card.


Step 4:  Match the card to their envelope and store them in a place where you can grab them easily and write your gratitude and thanks to others ASAP.


Monday, 7 May 2012

Mother's Day Bookmarks

Last week I posted a link to some beautiful Mother's Day gifts.  Well, during the week, the kids and I have been working on some bookmarks for our Nana (Martin's Mum) and Nanny (my Mum).  Grace is still finishing her bookmark but Patrick completed his yesterday, so I thought that I'd share the results with you because I think they're super cute gifts.
In my previous Mother's Day post I had a link to these  Fingerprint Pendants.  Unfortunately, I could not get my hands on Sculpey as mentioned in the tutorial.  So, yet again, I headed to Spotlight to see if I could find an alternative here in Australia.  I ended up purchasing some Crayola Air-Dry Clay for $14.99.  I had no idea if the product would work but I was determined to give it a go.

This is a LONG tutorial so my apologies in advance.
Fingerprint Bookmarks
Part One
Making the Fingerprint Charms
What you need:
  • A small ball of Crayola Air Dry Clay
  • Baking paper
  • Rolling Pin
  • Play dough cutters (I used a star and a heart)
  • Skewer
  • Modge Podge
  • Glitter

1.  Roll out some of the Air Dry Clay until it is about 3mm thick
(We rolled it out on baking paper so it didn't stick to the kitchen bench.  It also makes for easier cleaning)
2.  Press the desired play dough cutters into the dough
3.  Remove the shape from the rest of the clay.  We found that the edges were a bit dry so we added a drop of water to smooth it out.
4.  Using a skewer, make a hole in the shapes.  This will be threaded onto a ribbon so ensure that the hole goes all the way through the shape.

5.  The children pressed their fingers onto the clay.
6. Turn the shape over and using the skewer write a message to the person the gift is for, or as we did, write the child's name and year the gift was created.
7.  Mix together some Modge Podge and glitter

8.  Paint the mix onto the shapes and let dry for 48 hours


Fingerprint Bookmarks
Part Two
Making the Bookmark
What you need:
  • Fabric 1 : (Cut 1) 23 cmX23cm (piece for bookmark front)
  • Fabric 2 : (Cut 1) 20cmX10cm (Piece for bookmark back)
  • Lightweight fusible interfacing (Cut 1) 20cmX10cm
  • Ribbon 13cm long
  • Embroidery needle and floss
  • 15cm embroidery hoop
1.Using a lead pencil mark out a rectangle 20cmx10cm on the front of the fabric measuring 23cmx23cm.
2.  Ask your child to draw a picture inside the marked rectangle.  I asked the children to draw a simple drawing because this will be sewn with embroidery floss and if it is too complicated for them to sew it could be frustrating.  In this case, my children also wrote Nana/Nanny and 2012 for the year the bookmark was created.
3.  Place the piece of fabric inside the embroidery hoop with the drawing in the centre of the hoop.
4.  Using a simple back stitch and all six strands of embroidery floss, follow the outline of the drawing and /or words and numbers.
5.  When the backstitch outline is complete, with a hot iron, adhere the interfacing to the wrong side of the back fabric piece.
6.  On a flat surface, lay the back fabric piece right side up.  On top of this place the embroidered front fabric piece right side.
7.  Pin in place
8.  Start sewing along the top edge of the bookmark one inch from the corner.   Using your machine foot as a guide from the edge, sew around all four sides.  Ensure that you do not meet the stitches up on the top of the bookmark.  You need to leave a 2cm opening so the bookmark can be turned right side out.
9.  Cut the tip of all four corners.  These cuts will make the corners sharp and less bulky.
10.  Through the opening left at the top, turn the bookmark right side out.  Using a knitting needle (or a chopstick) carefully push out the four corners
11.  Press
12.  Thread the thumb print charms onto the ribbon
13.  Fold the ribbon with the pendants attached in half
14.  Place the loop inside the 2cm opening on the bookmark - half way along the width.
15.  Pin the ribbon loop and pendants in place.
16,  Top stitch around all four sides of the bookmark  (Double stitch the top edge to securely fasten the ribbon to the bookmark)
17.  DONE!
 
A beautiful homemade gift for someone special in your child's life.

Friday, 4 May 2012

Monogrammed Mugs

On our recent trip to the US, we saw these amazing mugs at  Anthropologie.  We decided that yes, we  were going to purchase them until we realised that there was no "P" for sale.  Now, if we couldn't buy a complete family set - a 'M', a 'G', a 'P' and a 'J' there was no way we would purchase them, so we left the store empty handed and sad of heart.

Since we have arrived home, these mugs have been playing on my mind.  I LOVED them and I love family traditions.  How good would a family treat of delicious hot chocolate be in these adorable mugs?

Well, last week I did a computer search and stumbled across this amazing project from Design Mom and I knew that we had to make them.

Have a look at how they turned out...
Adorable?

They were fun to make and the kids LOVED creating their own mug.  
This is how we did it.

*I purchased 4 mugs from Spotlight - $1.99 each
*While I was at Spotlight, I also purchased a Black Pebeo Porcelaine Pen in Fine Point - $8.45 
*Using Sketch Block Font I enlarged the selected initials (M,J,P and G) to size 250 and printed them out on my home printer.
*The kids cut out their individual initial
*We rubbed the back of the printed initials with a lead pencil so we could transfer them to the mug (I didn't have any carbon paper at home)
*We stuck the initials onto the mug in the correct position using sticky tape.
*We transferred the initial onto the mug by rubbing over the letter.
*We took the initial paper off the mug but realised that the lead pencil was light (so faint that we could hardly see it)  so we went over it again with a lead pencil so the line was visible.


 *Using the Porcelain Pen we traced over the initials of the letter.  We made the outline as dark as possible.
*Then we filled in the initial with diagonal strokes (I encouraged the kids to keep the lines in the one direction - Grace decided to get crafty and hers went a bit swirly - very 'Gracie')
*We had a few pen strokes that weren't right but we were able to wipe them off with a tissue
*We went over all lines on the mug about 3-4 times
*When we were happy with the results we left them to dry for 24 hours.
*Then we baked them in the oven at 150'C for 30 minutes to set the ink.

*When the mugs were cool we wiped off any left over pencil marks.
*That is it!  
*Now they are sitting on our kitchen bench ready for the perfect night for a movie and hot chocolate.  Tonight is looking good! 

Wednesday, 8 February 2012

Sew A Zippered Pouch/Wristlet (A Tutorial)

In just over a month our little family will be heading to the US for a holiday.  We are so excited and counting down the days...yippee!   Me, being my Capricorn self, likes to be super organised and as I lay in bed last night thinking about all things holiday, I realised that our passports were sitting in a yucky old plastic ziplock bag.  I knew that had to change.  No doubt, we'll be whipping the passports in and out of bags while we're away and I want something pretty to protect them.

So today I went into action and sewed a zipper wristlet pouch and I thought I'd share with you how I did it.  


Side note - Please excuse the photos but our SLR broke at Christmas and I have not had a chance to get it repaired so you'll have to view my phone photos.

What you need for the project:
  • 7" (18cm) zipper
  • 4 pieces of fabric (2 outer fabrics and 2 for the lining)
  • Outer Fabric - Cut 2~20cm X 13 cm
  • Lining - Cut 2~20cm X 13 cm
  • For wristlet - Cut 1 piece of the fabric of your choice (I used the same as my outer fabric) 4cmX27cm
Here is what to do
  1.  Pin the zipper to one of the lining pieces.  The zipper should be the right way up and the lining should be right side facing you and with the zipper laying across the top. 
2.  If you have a zipper foot, attach it to your machine
3.  Stitch across the top from one end to the other quite close to the zipper. The aim here is to get a nice straight line so make sure you follow your marker of you're using one.
4.  Repeat with the second lining piece.  Make sure you attach it to the other half of the zipper.
5.  Press!
6.  Now it's time to sew the outer pieces to the zipper.  Have the zipper facing you right side up.  
7.  Lay a piece of outer fabric right over the zipper.  The fabric will be facing you the wrong side.
8.  Using your previous sewing stitch as a guide, stitch across the zipper.
9.  Repeat on the other side of the zipper with the remaining outer piece.
 10.  Press the fabric away from the zipper.  Make sure that you press well.  This is important because it can make the difference between something looking homemade rather than handmade.
11.  Press the lining fabric, too
 12.  Top stitch the zipper down.  I like to just stitch the outer fabric but if you'd like to include the lining, that is okay too.  (Make sure you do this with your zipper foot attached)
 Now it's time to make the wristlet.
13.  Take your wristlet piece and iron it into fourths.  
14.  Fold the two long edge towards the middle
 
15.  Then fold in half again.
16.  Press!
 17.  Top stitch along both sides of the strap to close it 
18.  Pin the strap as shown below.  Set aside this will be needed when we sew around the bag and lining.

19.  Open up the zipper and flip both the lining pieces out of the way.
20.  Grab your folded and pinned strap and attach it to one side of your outer pieces.  I attached mine about 5 cm from the top.  
21.  Pin the right sides of the lining pieces and the outer pieces together.  The zipper is now hidden inside the bag.
22.  Mark off an opening of about 5 cm on one side of your lining piece.  This will allow us to turn the bag inside out when we have sewed all the way around.
23.  Sew along all four sides using the side of your foot as a seam allowance measure.  Make sure you leave the opening!  Also be sure to reverse back and forth at the start and the end.  I also reversed over the strap so I knew that it was secured firmly.
24.  Clip your corners
25.  Turn the bag right side out through the opening you left in the lining.

26.  Make sure you poke your corners out neatly (I use a crochet hook for this)
27.  Close up the hole on the side by hand stitching or by stitching very close on your machine.
28.  The final thing is to press and then to enjoy using your new zippered pouch/wristlet!
or better still, gift it for a friend or family member.


The other day I made a pouch for my iPhone and I have had a few comments on it.  
I'm thinking I'll do a tutorial on that very soon.